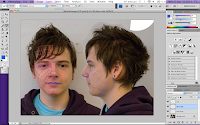
Using photoshop I have used the Lens Correction modifier to flatten the photographs of my head (both front and profile views).
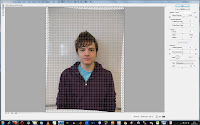
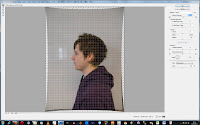
Following this I combined the two images and made horizontal guidelines (in light blue) to line the two up (also rotating the profile view slightly so all features of the face are lined up properly).
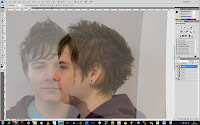
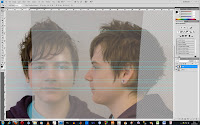
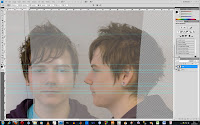
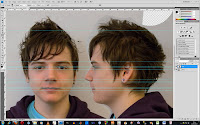
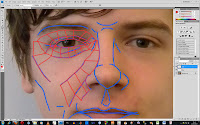
Then I marked off the protrusions and creases of my face as guidelines of contours and to give an idea of depth in the image (darker blue) and then divided the image into polygons ready for modelling in red.
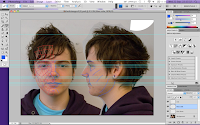
Finally the image of both views has been imported into 3ds max to create the guides using planes.
(More screens)
Very good topology around the eyes but it's a little odd on the cheek, try to image smooth lines going over the face
ReplyDelete